

UTV Beadlock wheels
Are you considering new wheels for your UTV or ATV? Let’s break down the differences between beadlock and non-beadlock wheels. Choosing the right wheels for your terrain is important. While tires are your top priority, wheels are a close second.
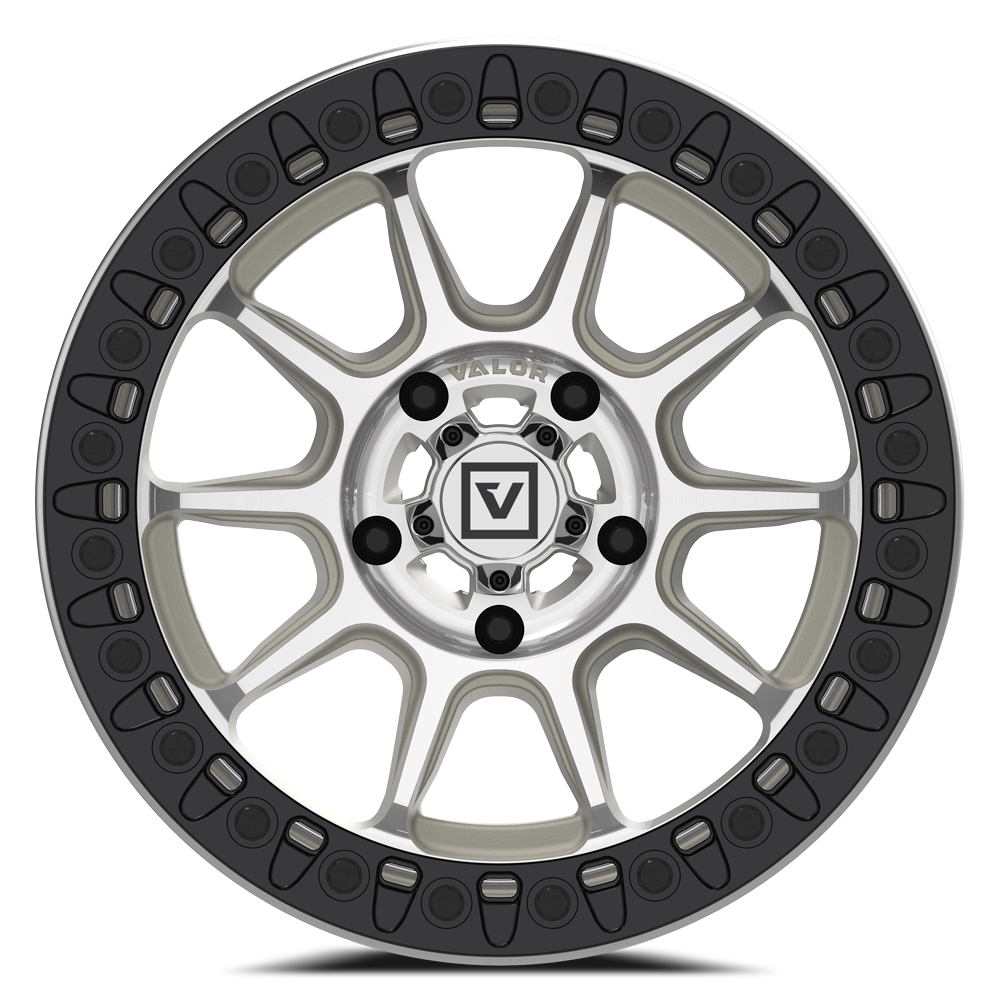
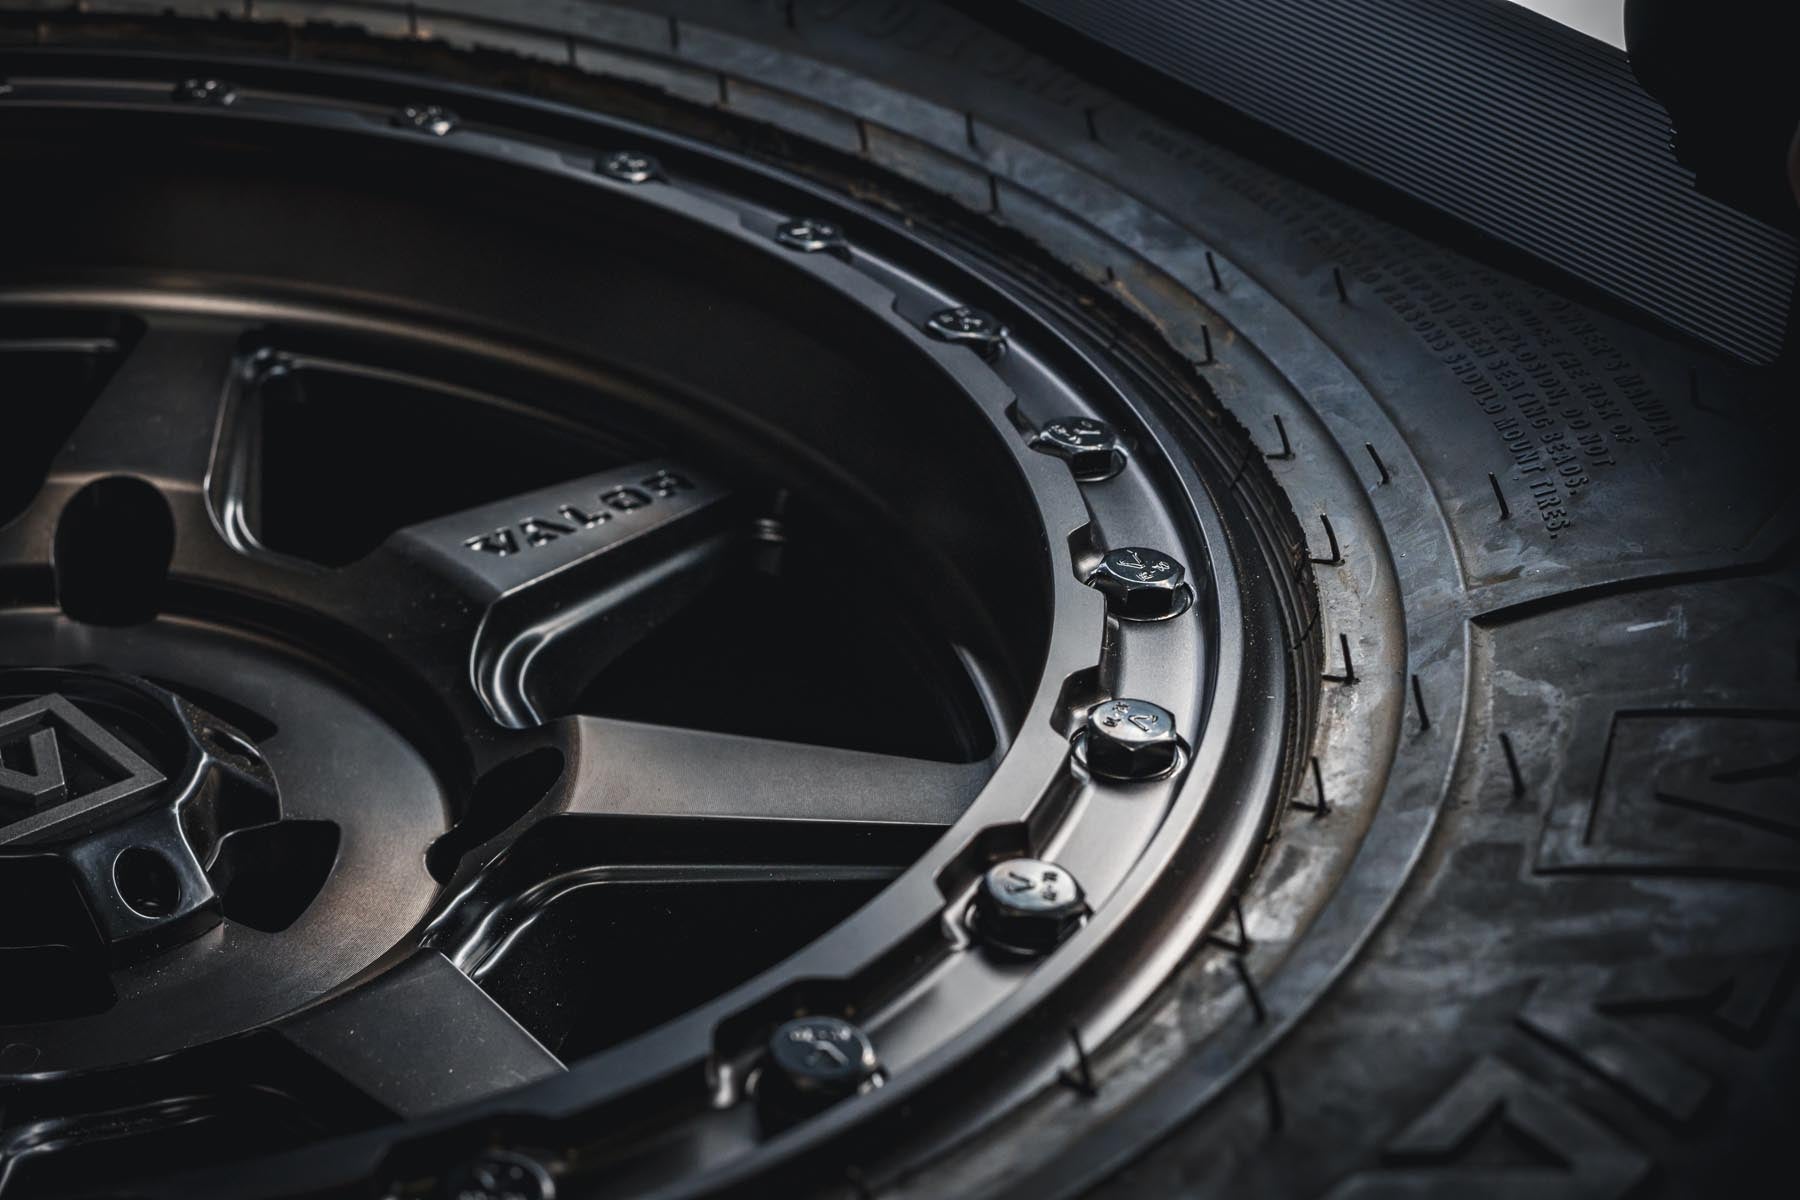
Anatomy of a beadlock wheel

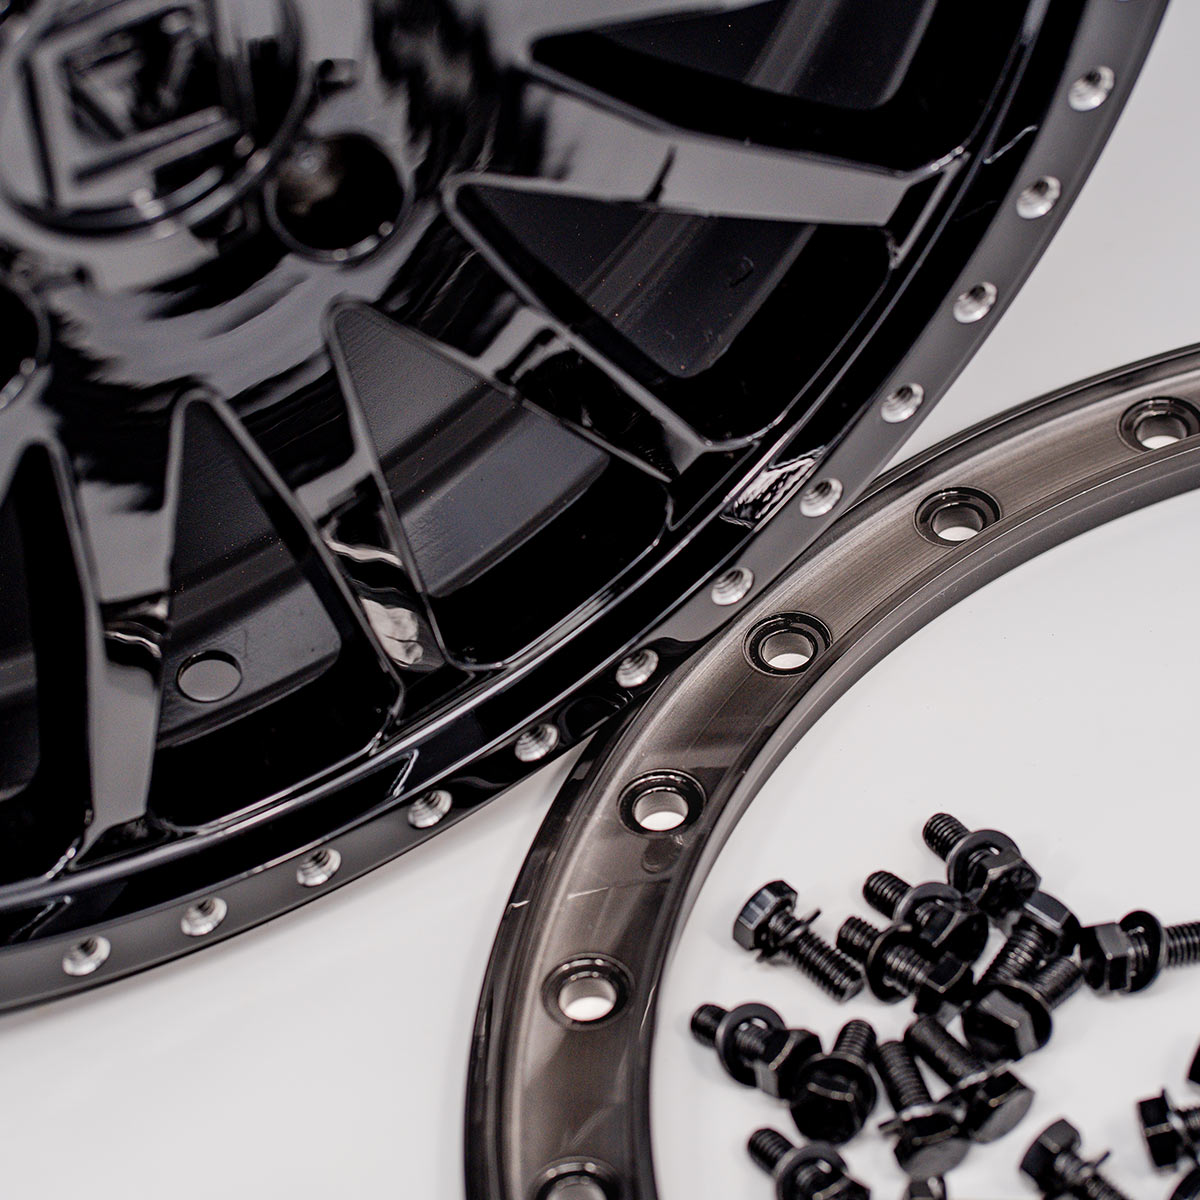
- A: Wheel face (Inner Beadlock). This part looks different from a regular one-piece or non-beadlock wheel. Instead of a lip to hold the tire bead, a beadlock wheel uses a ring to press the tire bead between the wheel face and the ring. This creates an air-tight seal and keeps the tire in place.
- B: Beadlock Ring (Outer Beadlock). This part is usually made from strong materials like billet aluminum. If you ever need to replace it, it can cost nearly as much as the wheel itself. We’ll talk more about wheel materials in another post, but for now, check out this introduction from SuperATV: Billet Aluminum.
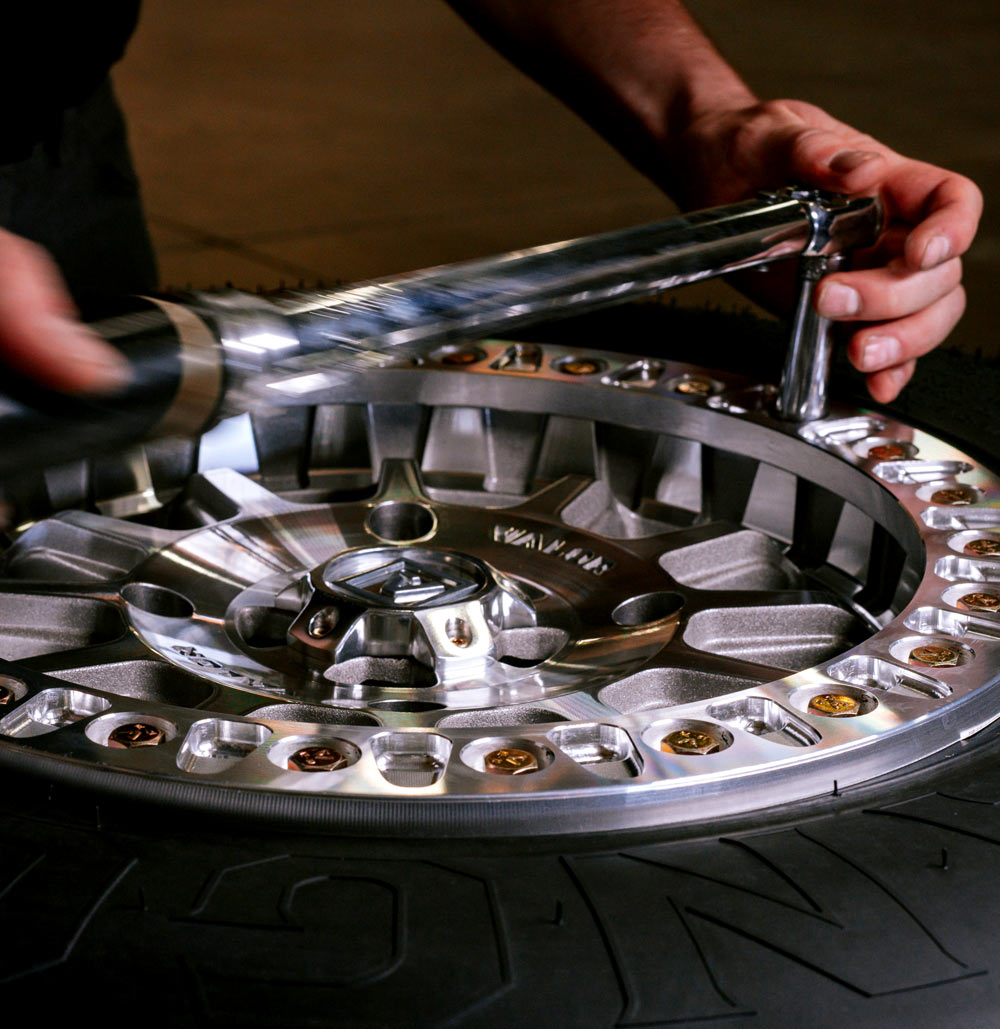
- C: Hardware. Every beadlock wheel should include strong bolts and hardware for safe assembly. Make sure each bolt has at least five full threads engaged for a secure fit. Some bolts have special coatings that give them colors like bronze or rainbow. Before you begin, check that your bolts are the right length by holding one next to the wheel’s mounting face. Never use a hammer or impact drill to install beadlock bolts. Always hand-tighten them and finish with a torque wrench to the manufacturer’s specs.

Now that you know how beadlock wheels work, you might wonder why you need them.
Beadlock Pros:
- You can lower your tire pressure a lot, which gives you much better traction. The tire can shape itself to obstacles, increasing surface area and helping your vehicle crawl over tough terrain.
- A billet beadlock ring is stronger than traditional aluminum, so you can use them in places where a one-piece wheel might not hold up.
- They also have a great look.
Beadlock Cons:
- Because beadlock wheels are bomb-proof, there is more engineering, hardware, and parts. Unfortunately, all of that adds up to more weight for your machine. We're talking a few pounds; however, add a few pounds across all your vehicle's accessories, and it can add up over time. Pick parts you're willing to sacrifice a little extra weight on, as long as you can identify a performance improvement. Beadlock wheels are a no brainer, if you think you need them, get them.
- Because beadlock wheels have more parts, they also cost more. You can expect to pay much more for them than for a one-piece aluminum wheel. You’re not just paying for the name; these wheels have features that make the higher price worth it.
Before you buy beadlock wheels or any aftermarket UTV accessory, ask yourself a few questions. It’s best to decide based on your needs, not just your wants. Otherwise, you might spend money you’ll need later for maintenance or repairs.
Ask yourself these questions:
- Where will I be driving my UTV/ATV? Do I NEED any of the beadlock wheel attributes?
- Do I plan to air down your tires periodically or permanently to tackle rough terrain?
- Do I have an onboard air compressor? If you lower your tire pressure for crawling, you’ll need to air back up to the manufacturer’s specs before driving fast. If not, you risk a blowout.
- Do I know how to reseat a tire bead on trail?
- Do I enjoy wrenching on my machine? Beadlock wheels require routine maintenance to ensure all bolts are correctly torqued.
- Have I discussed this purchase with my partner (haha, just kidding...kinda).