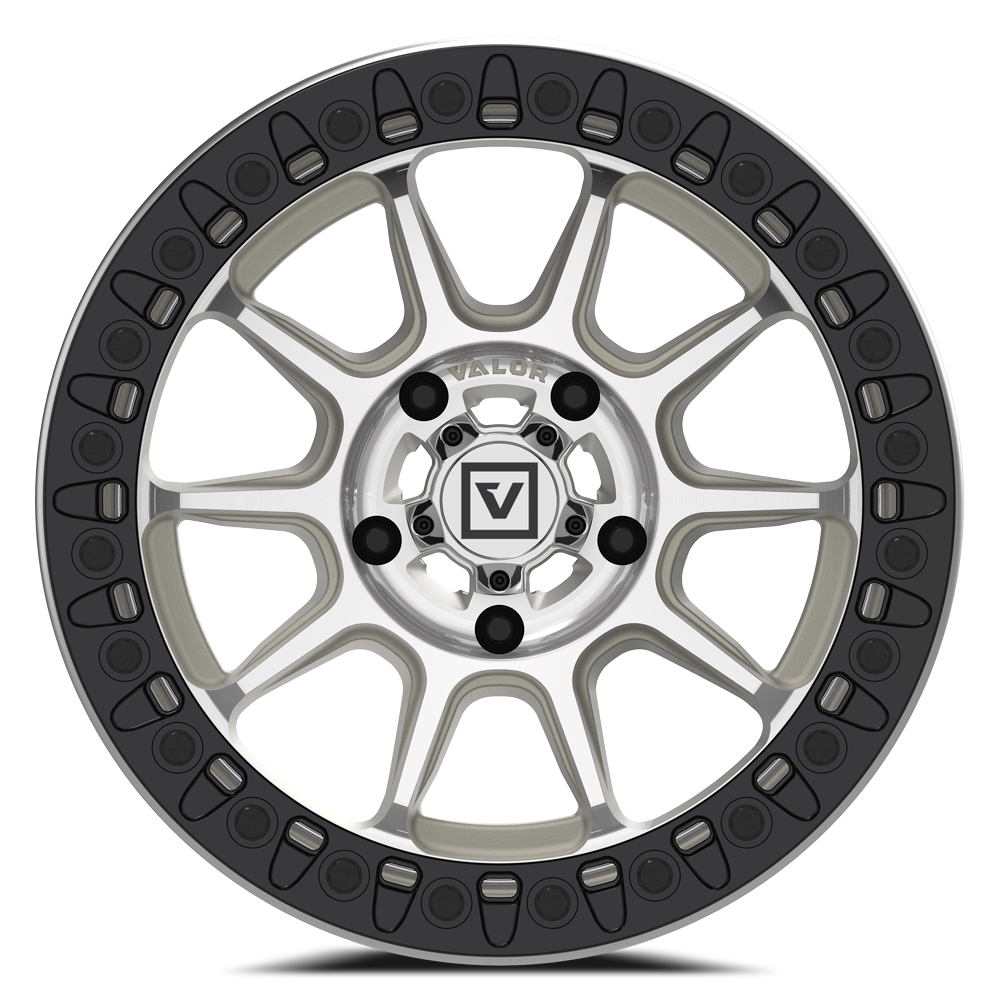

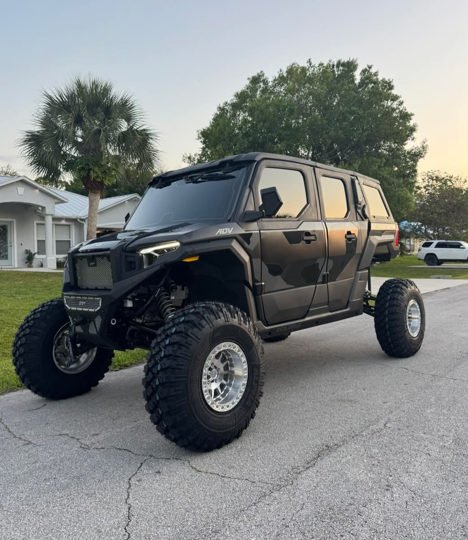

Your guide to mounting and installing beadlock wheels
We recommend having a professional at your local powersport dealer mount your beadlock wheels and tires. They have the experience, tools, and equipment to make the process safe and efficient. If you choose to do it yourself, please be aware of the risks listed below.
- Beadlock wheels are intended for off-road use ONLY.
- Only properly trained professional tire & wheel installers using OSHA-approved safety cages and safe tire mounting practices should mount and inflate tires.
- Each bolt MUST be checked and tightened for correct torque specifications using a star pattern.
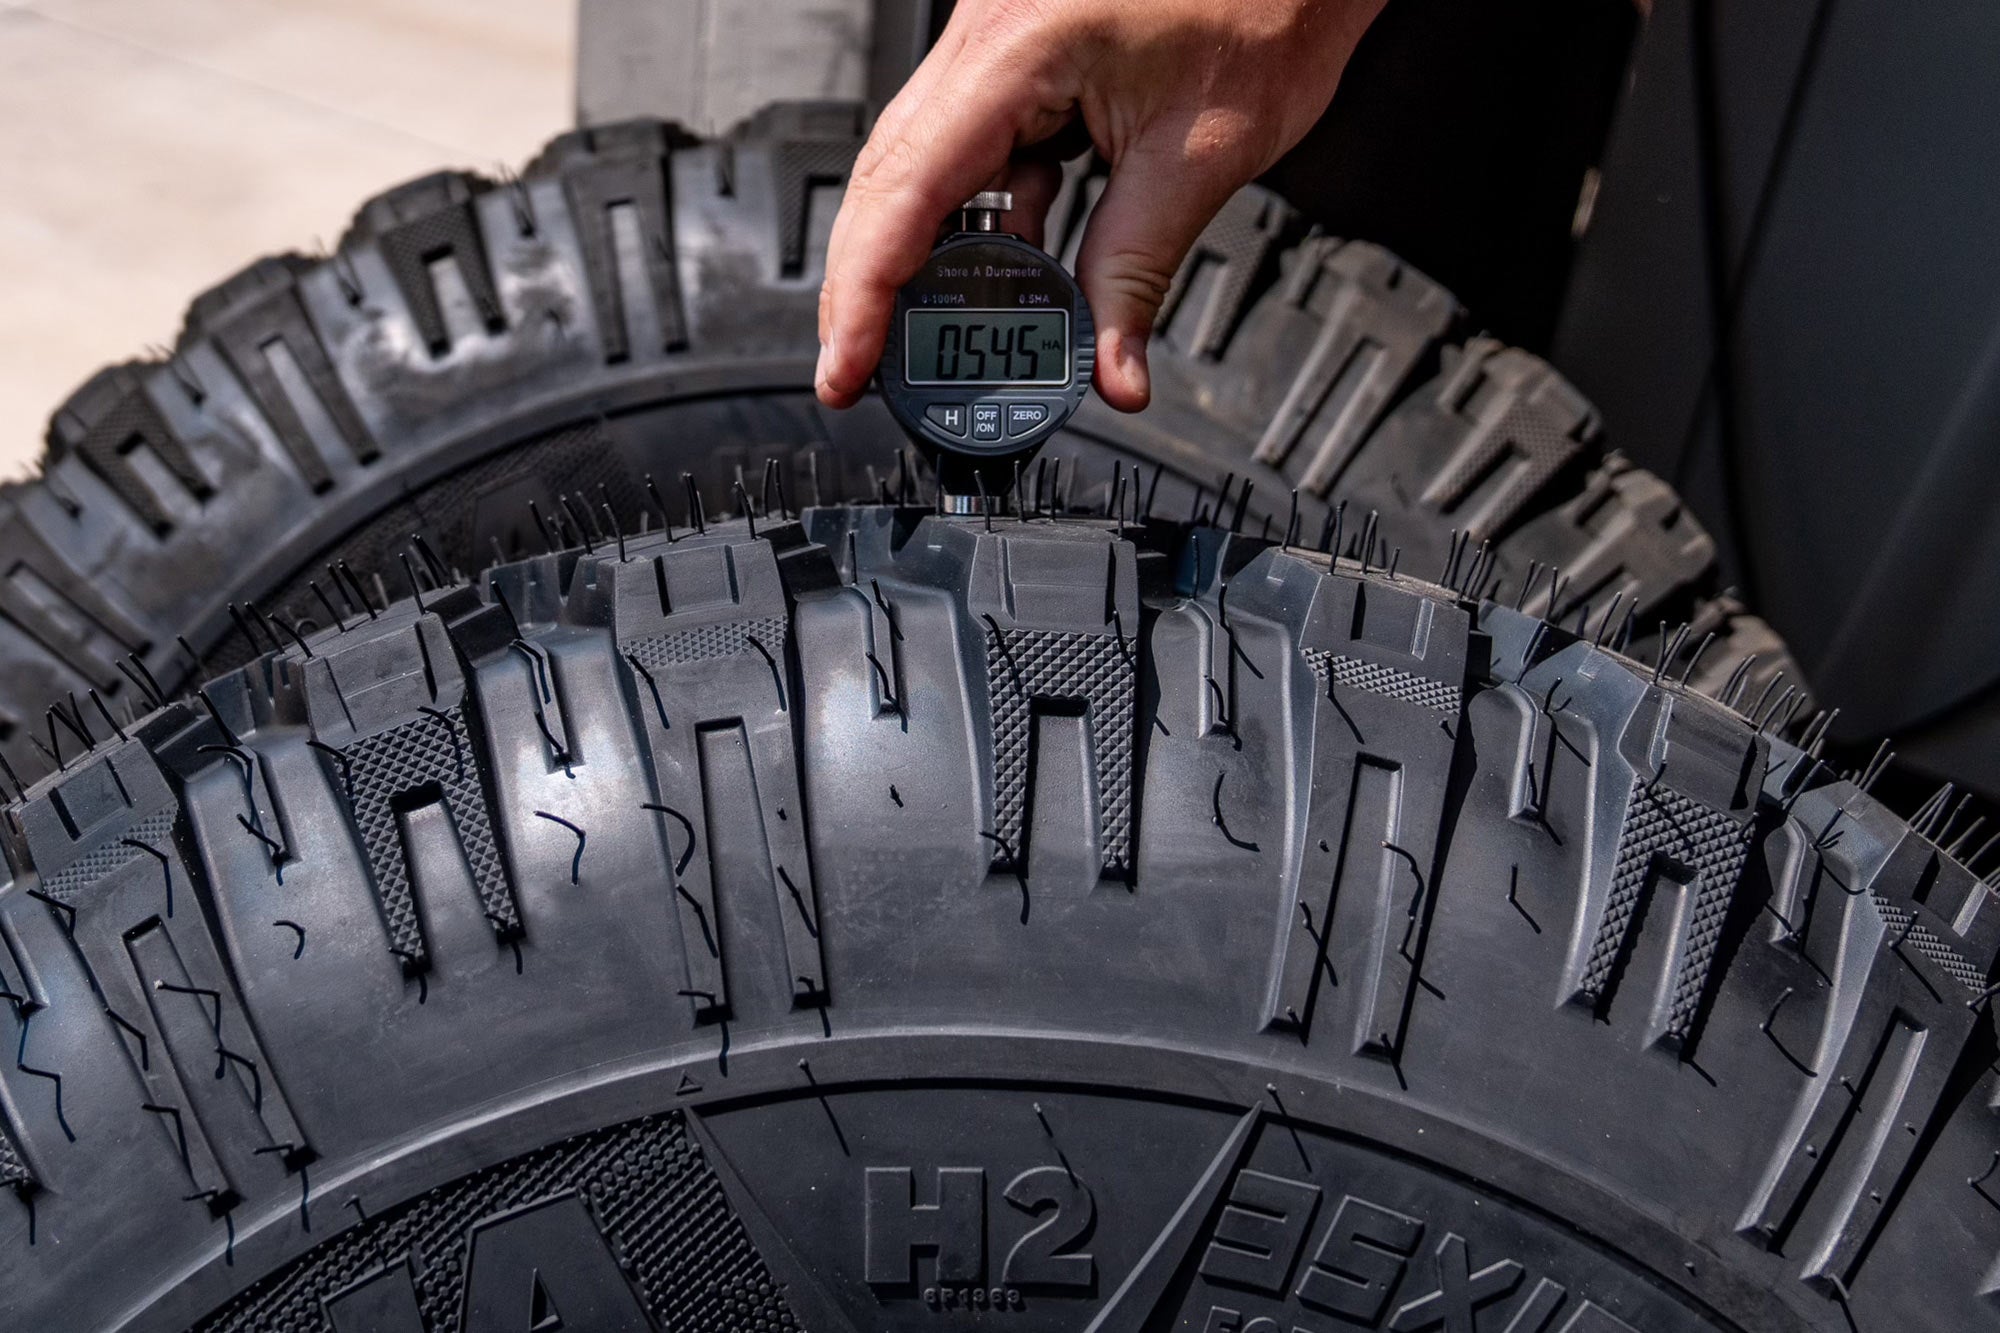
- Never exceed 25 pounds to seat the inner tire bead.
- You must frequently inspect bolts and hardware to ensure that they are at the correct torque specification. We recommend retorquing before every ride.
- Only use Valor Offroad-approved beadlock wheel hardware, and replace it if the bolts are damaged or worn.

Inventory Check
- You will need four beadlock hardware kits. These are the rectangular boxes at the bottom of your Valor Wheels box. Each kit should include twenty-four M8x25mm A2-70 stainless steel bolts and twenty-four A2-70 stainless steel 16x1.5 mm washers.
- 13mm socket
- Hand ratchet
- Torque wrench to ensure you have the correct foot-pound torque on all of your bolts (you'll also need this tool for the installation of wheels on the vehicle).
- (Optional) Anti-sieze lubricant (like Permatex) for mounting hardware.
UTV beadlock wheel installation at home:
Start by finding a solid, flat surface like a garage or concrete floor. Before placing your new wheels on the ground, use a thick piece of foam or a blanket to protect the finish on the back lip of your wheels.
You will need a good lubricant to mount the tire. Mix water and soap in a 1:1 ratio in a spray bottle. Most soaps work, but car wash soap or a similar product is best to protect your wheel's finish. If you have tire lube, that's even better. Spray the mixture generously over the top lip of your wheel and the tire bead. Only lube one side of the tire, since you only need to slide one side over the wheel face. It's better to use too much lube than not enough.

If you have directional (asymmetric) tires, make sure you're paying attention here so your tires/wheels are facing the right direction. Are your tires directional? Look for an arrow on your tire sidewall pointing toward the front of your vehicle (or toward how the tires should rotate in motion). Remember with directional tires that you'll have to mount your passenger-side wheels on one side of the tire and your driver's-side wheels on the other to maintain true directional. If your tires do not mention a direction, or the tread does not flow in a particular direction, you likely have a non-directional tire, and you can mount your wheels on either side of the tire.
Mounting Tire
After getting the back bead of the tire well-lubed, use downward pressure while rotating the tire clockwise. The constant pressure will eventually allow the rear tire bead to slip over the face. Because your beadlock wheel has a built-in lip, the front bead will hang off the lip, as shown in the picture below.

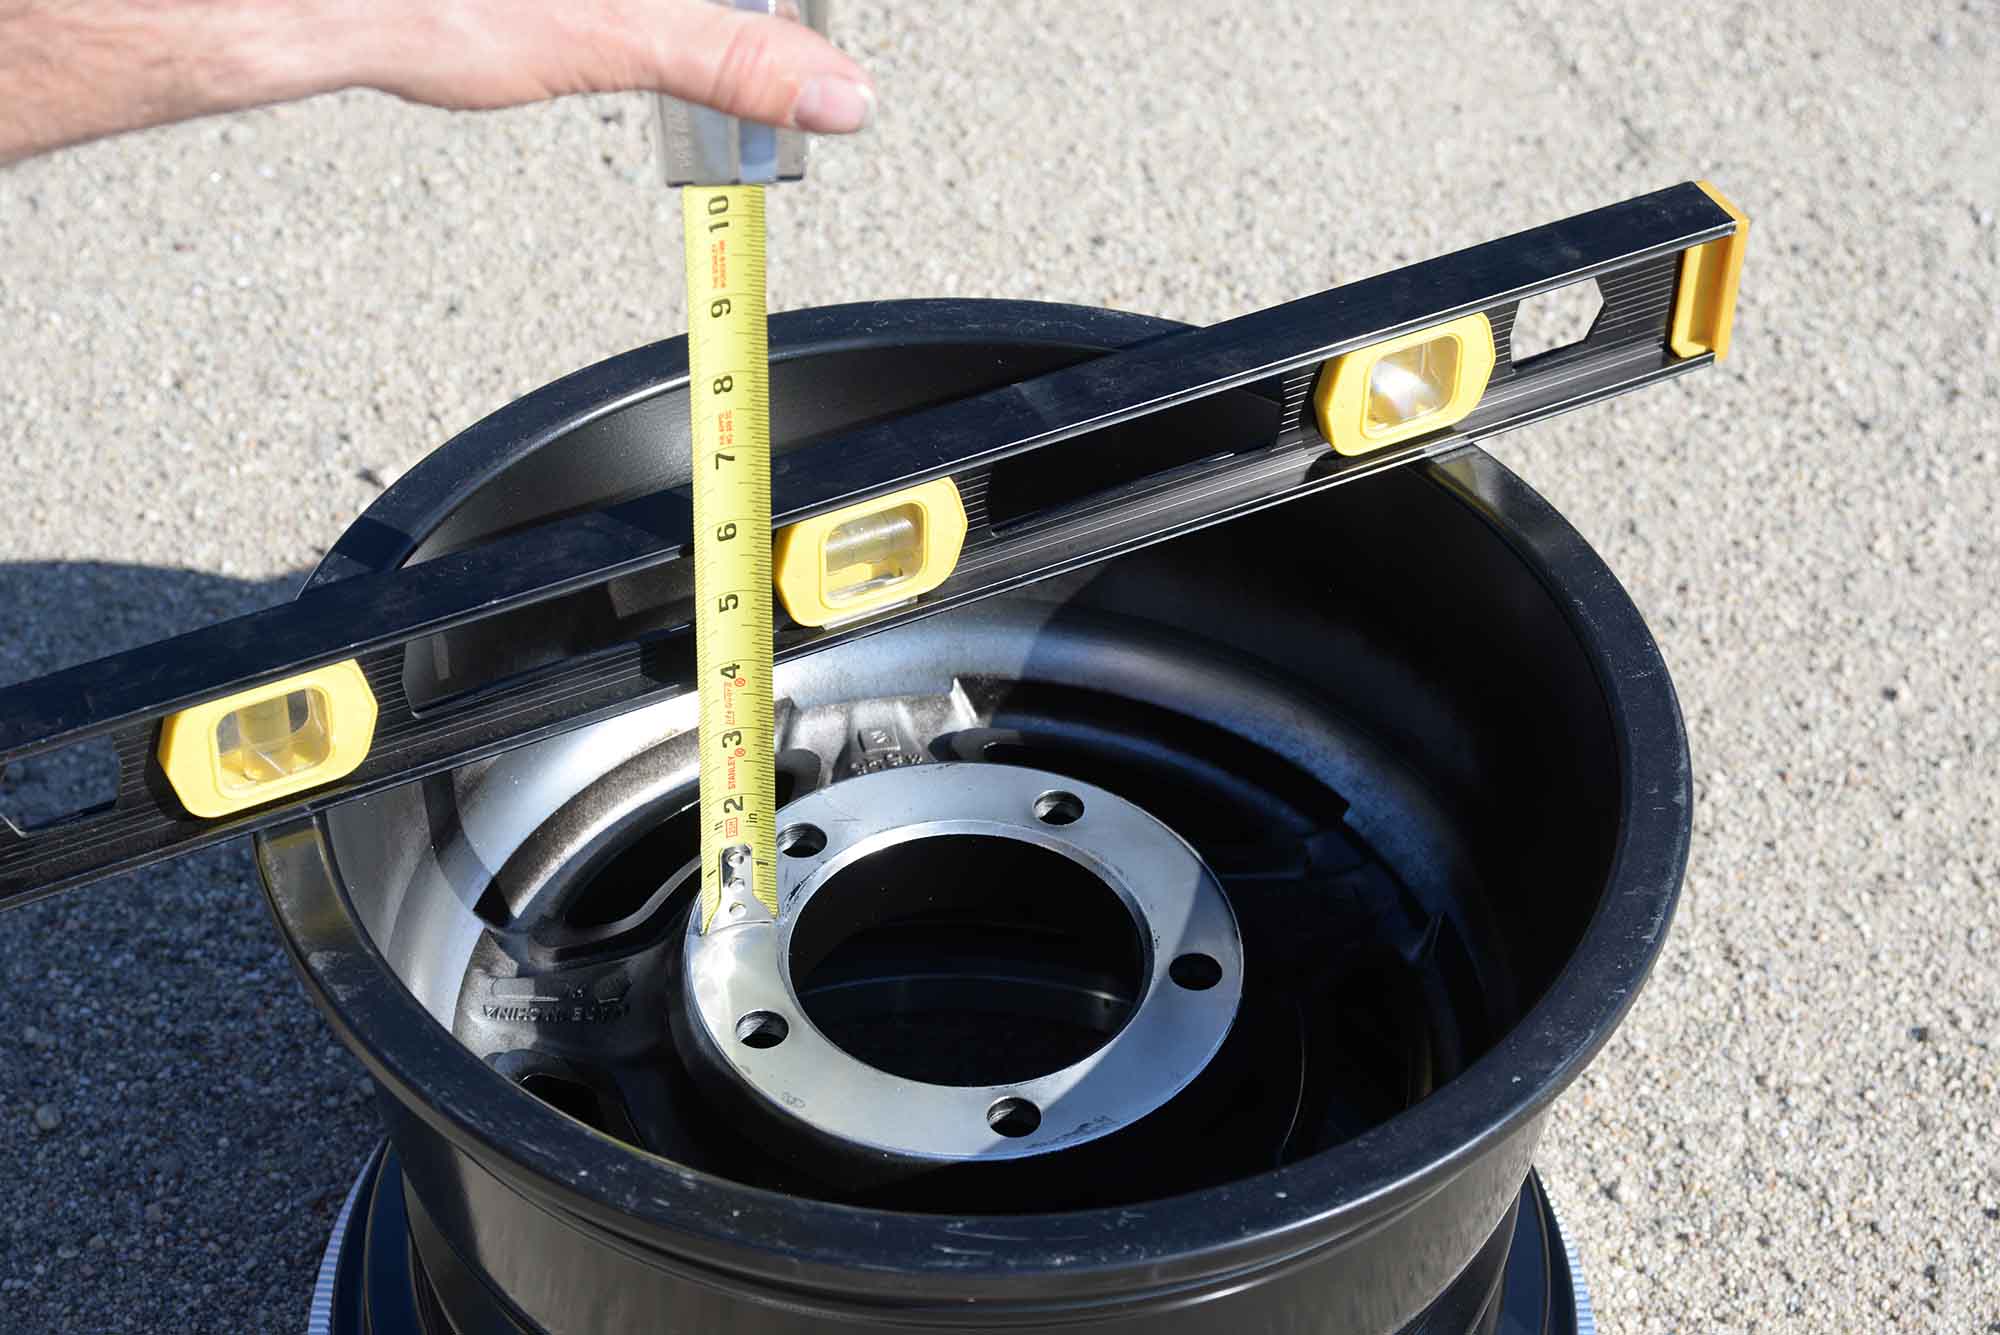
After setting the rear bead, place the wheel on a taller surface so the tire can hang and the front bead can be pulled tight against the wheel face. A five-gallon bucket works well for this step and is the right height for most people. If the bucket feels unstable, add rocks or something heavy to steady it.
Some UTV tires have a mark on the sidewall near the bead showing the lightest spot on the tire. Line up this mark, often a yellow circle or dot, directly under the valve stem of the wheel. This helps balance the wheel and tire assembly by matching the tire’s lightest point with the wheel’s heaviest point.
Some UTV tires have a mark on the sidewall near the bead showing the lightest spot on the tire. Line up this mark, often a yellow circle or dot, directly under the valve stem of the wheel. This helps balance the wheel and tire assembly by matching the tire’s lightest point with the wheel’s heaviest point.

Assembling Beadlock
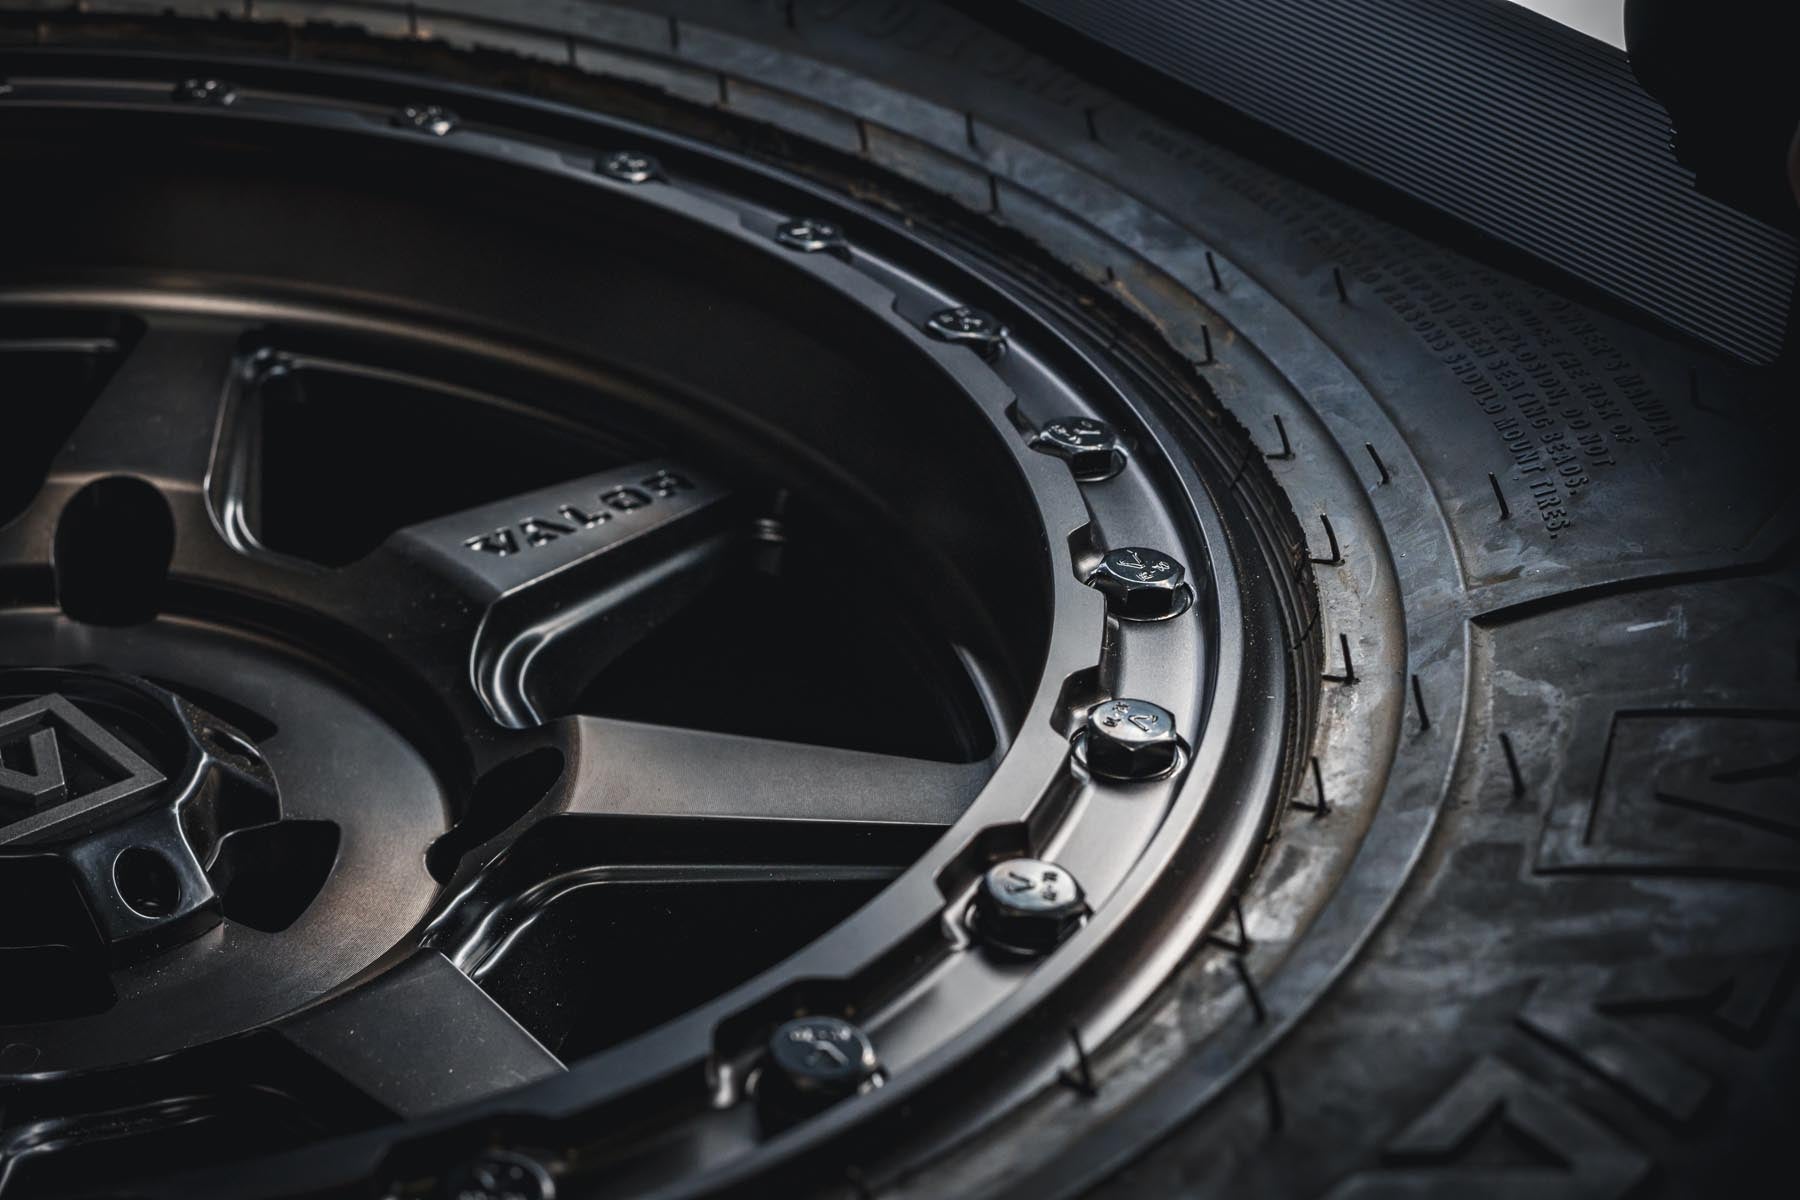
Place the beadlock ring onto the wheel face. Clock the beadlock ring holes with the wheel. We recommend using an anti-seize or bolt thread lubricant to ensure the bolts will never seize in the hole. This is an optional step; however, we strongly recommend using it because with one seized bolt, you'll be unable to fix a flat on the trail. Dip or brush a small amount onto each beadlock bolt, then hand-thread the bolt and washer a few turns to ensure a uniform mount. We like to hand-thread bolts until they are snug, and then finish off with a quality torque wrench.
Do not fully tighten one bolt before moving to the next, as this can cause the ring and assembly to warp, leak, or even fail while in use. Always use a star pattern when tightening bolts to ensure an even connection. Do not use an air gun or impact gun during installation. After starting all bolts and washers, hand-tighten them in a star or plus pattern. Tighten the bolt directly across from your first bolt, then continue crisscrossing around the wheel until all bolts are snug. Use a hand ratchet and repeat the star pattern to snug the bolts again. Tightening by hand and then with a ratchet helps prevent over-tightening, especially before the ring is fully set.
If you only have a torque wrench, set it to 10 foot-pounds after hand tightening for the second round of tightening.


Next up, grab your handy torque wrench and set the foot-pounds to 18 for the subsequent tightening. By slowly adding pressure to each bolt, your rings will connect to the wheel and remain perfectly flat, holding your tire bead in place. DO NOT EXCEED 18 ft pounds when installing your beadlock rings!
Bolts are threaded and hand-tightened in the image below. Bolt is still visible.

Image below: After hand tightening, hand ratcheting, and then using a torque wrench, the bolts are equally tightened to ensure the ring lies flat against the tire/wheel.

During the third tightening with the torque wrench, tighten your bolts to 18 ft pounds until you hear an audible "click" sound on your torque wrench. If you're forgetful, mark every finished bolt with chalk, or start at the valve stem and work clockwise so you know which bolts have been tightened and which you still have left to do. The fourth and final tightening is a double check, making sure each bolt has a clear, audible click from the torque wrench. It's better to be safe, so don't fret if you go over each bolt a couple of times to hear that trusty "click" sound.

If you plan to ride right away, inflate your wheels to the correct tire specifications. Use the same 1:1 soap and water mix you used for lubrication and spray it where the ring and tire meet. If you see bubbles, your wheels are leaking air and you will need to disassemble and reassemble to ensure a proper seal.

TLDR;
- Take your time. Don't be in a rush.
- Mount the inner bead over the backside of the wheel.
- Slide the outer tire bead on and center the tire.
- Line up the low spot on the tire with the valve stem. A low spot typically has a colored dot or mark on the sidewall near the lip protector.
- Place the ring and align the bolt holes.
- Apply anti-seize to the threads of each bolt. Anti-seize is your friend; use it.
- Start bolts by hand to avoid cross-threading.
- Using a star pattern, tighten each bolt a few turns at a time to ensure even pressure on the beadlock ring.
- Using a torque wrench, tighten the bolts in a star pattern to 18 ft-lbs.
- Do a final round of tightening to ensure ALL bolts give a click sound on the torque wrench.
- Lube the backside of the inner tire bead.
- Inflate the tire to seat the inner bead onto the wheel. DO NOT exceed the tire manufacturer's recommended maximum pressure for seating the beads. You will hear an audible "pop" when the tire bead seats on the wheel.
- Re-torque the ring bolts after the first 50 miles, and after each subsequent 200 miles.
- A few drops of dish soap in water can be sprayed to detect air leaks and ensure safe ring/tire seating.
- Over-tightening the beadlock bolts or using an extra-thick tire bead without a spacer can cause immediate stress points, which can lead to leaks and/or complete wheel and tire failure. If the beadlock ring bends inward (taco) toward the center cap or does not sit flat, DO NOT INSTALL ON VEHICLE.

How to install wheels on your UTV the correct way
You've assembled your new UTV beadlock wheels; now it's time to install them on your machine. We STRONGLY recommend you have a professional install your wheels and/or tires. If you do not know of a reliable dealer or technician near you, call us, and we can help locate one for you. If you insist on mounting your wheels, you MUST follow all steps below to ensure a proper and safe installation:
- First, make sure you have the correct installation kit with the right lug nuts. Not all lugs are interchangeable, and OEM stock lugs will not work with Valor Offroad wheels. You will need to purchase a kit from our Installation Kits. To find the right kit, check our Fitment Guide.
- Next, find flat ground before jacking up your vehicle. Since UTVs and ATVs usually do not have a parking or emergency brake, flat ground is the safest place to start.
- Before lifting your vehicle, use a torque wrench to loosen the lugs while all four tires are still on the ground. This prevents you from struggling with stuck lugs while the tire is off the ground and helps ensure a safe wheel swap.
- Use a floor jack or your vehicle’s emergency jack to raise the vehicle until the tire can rotate freely. If you are installing larger tires, make sure to lift the vehicle high enough to fit the new size.
- When your vehicle is safely lifted and the wheel is ready to be removed, unscrew all lugs by hand or with a socket. If you need a torque wrench at this point, the lugs were not loosened enough earlier. Lower the vehicle and loosen them before continuing.
- After swapping your wheels and tires, finger-tighten the new spline lugs as much as possible.
- Use only the socket (not attached to a torque wrench) to tighten the lugs as much as possible in a star pattern.
- Lower the vehicle until the tires touch the ground, which will keep the wheel and tire from spinning.
- Using a torque wrench, tighten each lug to the vehicle's OEM spec. What is your OEM spec? Contact your local dealer or visit your vehicle's owner's handbook.
- Lower the vehicle fully to the ground. Use the torque wrench again to make sure all lugs are tightened to the correct specification in a star pattern. You will hear a click when each lug is properly torqued.
HOW TO TIGHTEN LUGS

There is one more important step.
You MUST retorque your lugs to OEM spec after no more than 20 miles. This applies to your daily driver, towing trailer, lawn mower, and especially your UTV, SxS, or ATV. Want to learn more about what happens when you decide to skip the retightening step? Check out our Why you should tighten your lugs post.
Warning Signs:
How do I know if my lug nuts are loose?
- Trust your instincts to help prevent accidents. If something feels wrong with your vehicle, stop immediately and inspect it thoroughly. Check for irregular stud length or unusual wear on any parts.
- A wobble in your steering wheel is often the first sign of a problem with your wheels or tires. You may feel the steering wheel move back and forth, even if the wobble is subtle. Always trust your instincts and check your vehicle if you notice this. Sometimes the cause is minor, like a lost wheel weight or alignment issue, but it is always safer to check.
- Smoke. If you see or smell smoke, you've already hit the point of no return. Pull over IMMEDIATELY.